Empire TIME - Lesson 1
Recording Time
Empire TIME enables users to record, track, and manage time and expenditures.
Getting Started
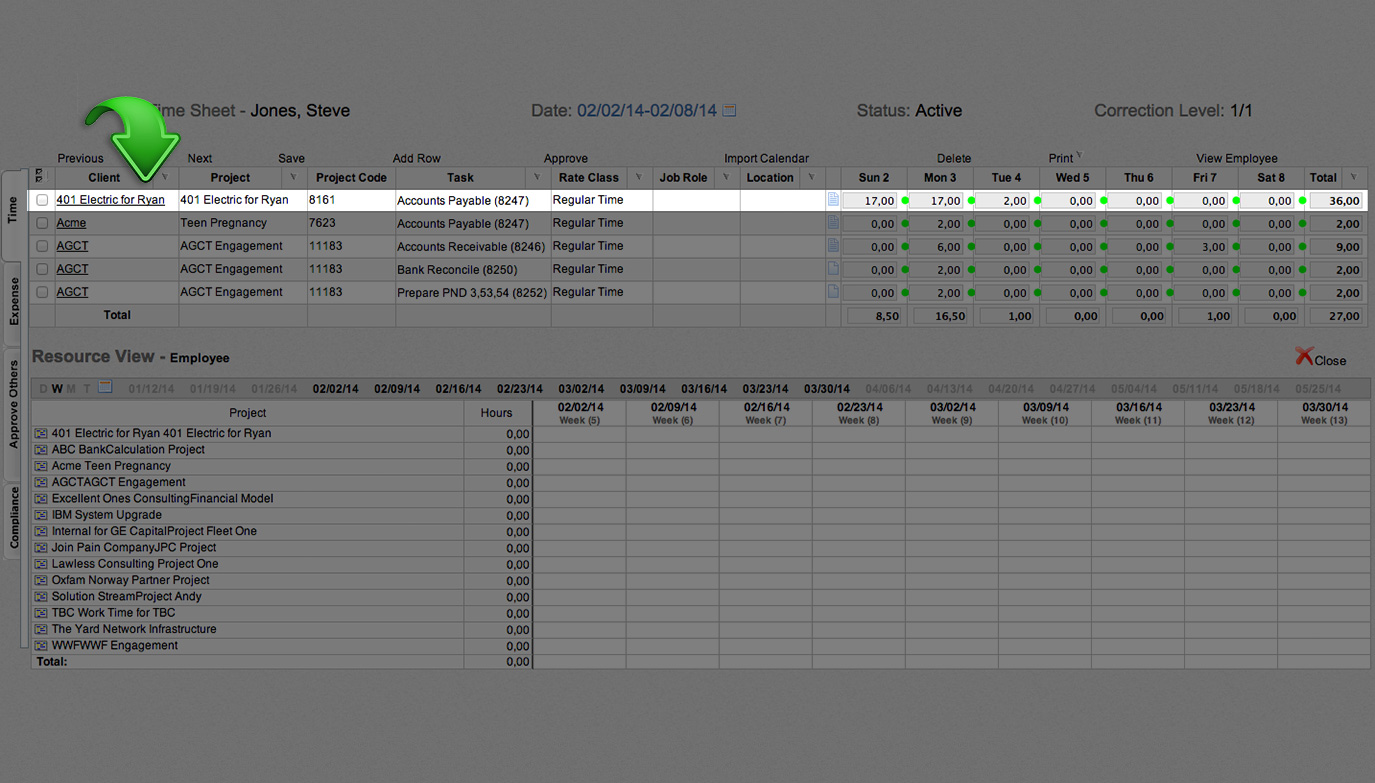
To begin, click the “Time” tab. This takes you to your main interface, which provides tabs for time entry, expense entry, management approval, and compliance.
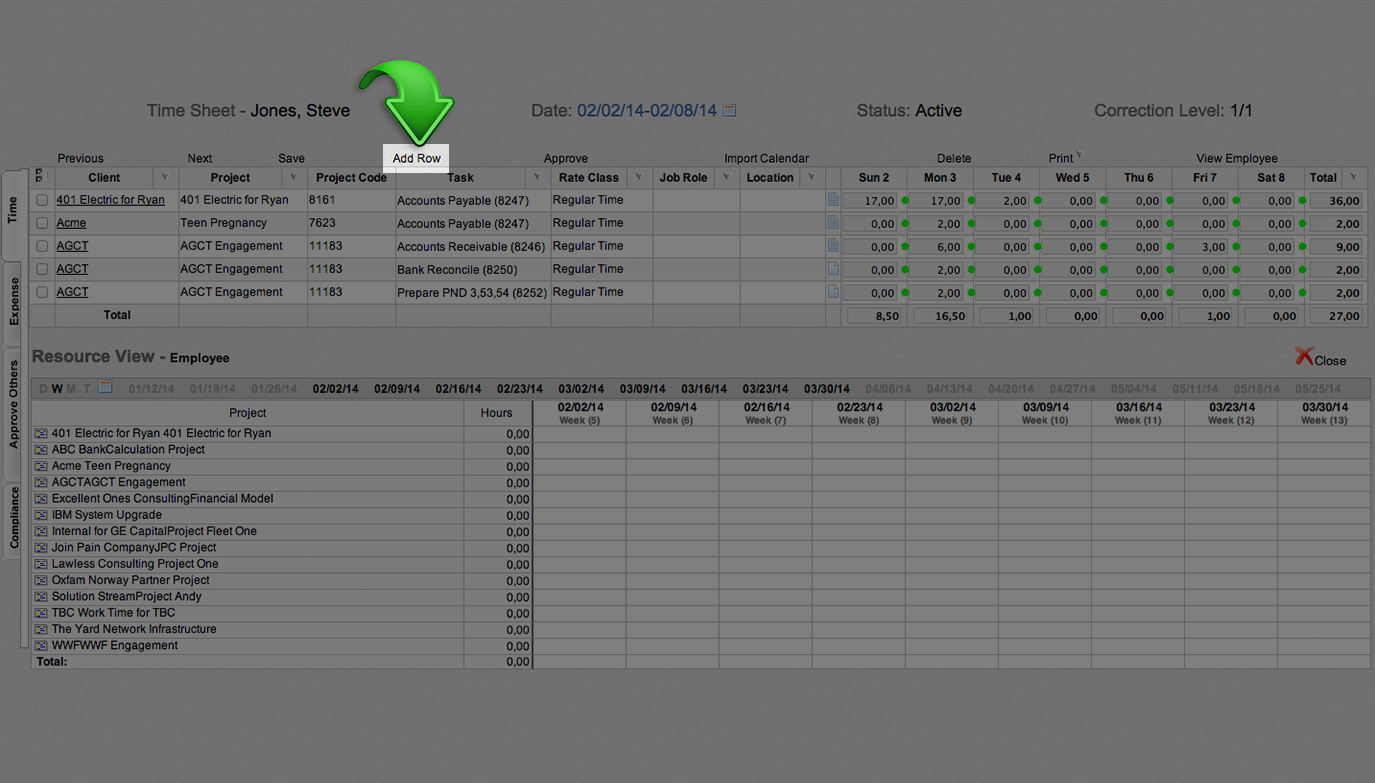
Add a New Client/Project
Click “Add Row.” This will allow you to add a client and associated information to your timesheet, so you can begin entering hours.
Add Project Information
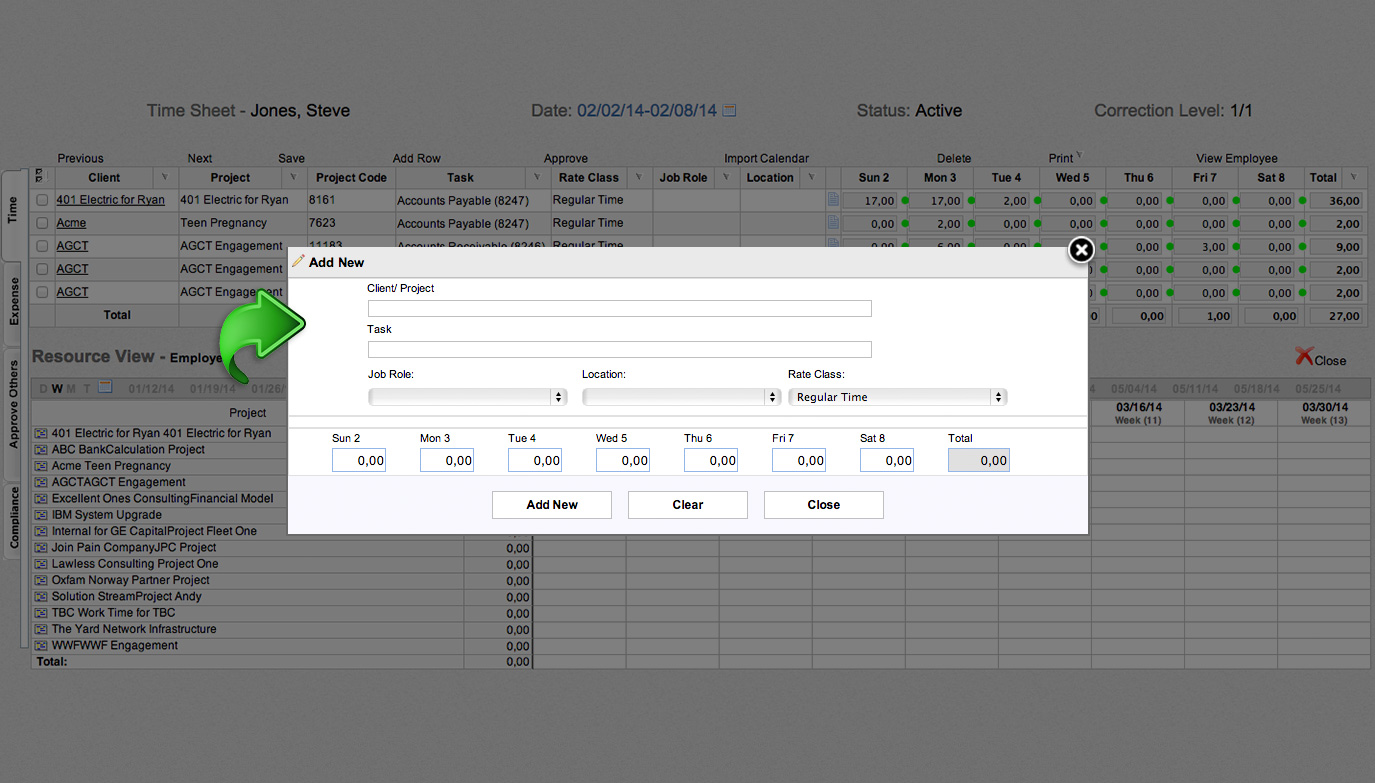
Fill in the project details.
Client/Project: Click on the appropriate Client/Project from the list of options. (If you do not see the correct Client/Project, then it is not yet in the database and will need to be created in Empire PROJECT.)
Task: Select from the list of pre-defined tasks (if applicable).
Job Role: Input your project role, or select from the list of pre-defined roles. (optional).
Location: Input where you did your work, or select from the list of pre-defined locations. (optional).
Rate Class: Specify whether the hours entered are billable-regular, billable-overtime, or non-billable.
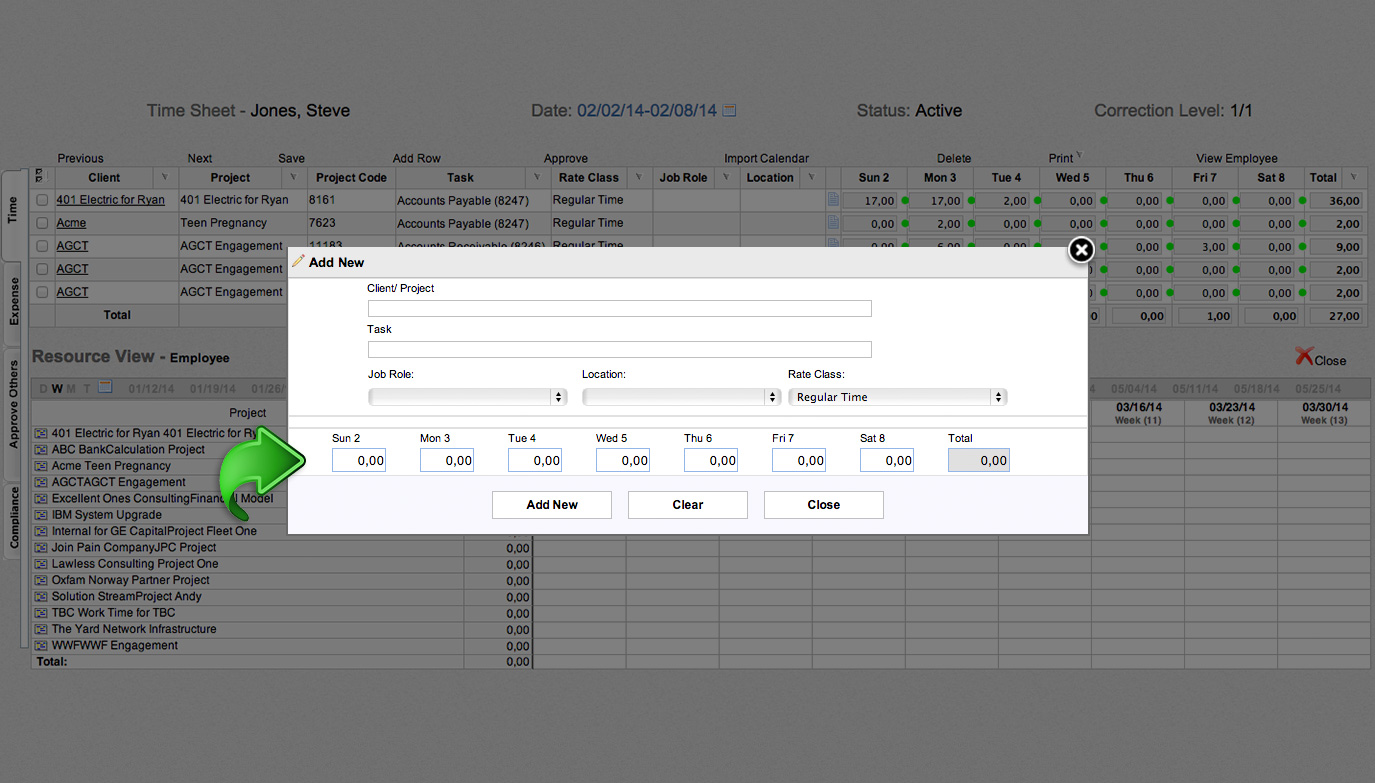
Input Your Hours
Input the amount of hours you worked each day. Click “Add New” to save your data, click “Clear” to discard your data, or click “Close” to discard your data and close the window.
Review Your Entry
A new row has been added to your timesheet. You can add or edit hours within the row, or click the client name to add or edit hours as well as alter additional information.