Empire RESOURCE - Lesson 2
Managing Resources
Assigning projects is how you match personnel and schedules to assignments.
Getting Started
To begin, click the “Resource” tab. This takes you to your resource overview where you can view, assign, and adjust project resources.
Match Personnel to Schedule
Double click on the grid segment where the person you want to assign intersects with the project’s proposed timeframe or start date. A popup window will appear prompting you to input assignment information.
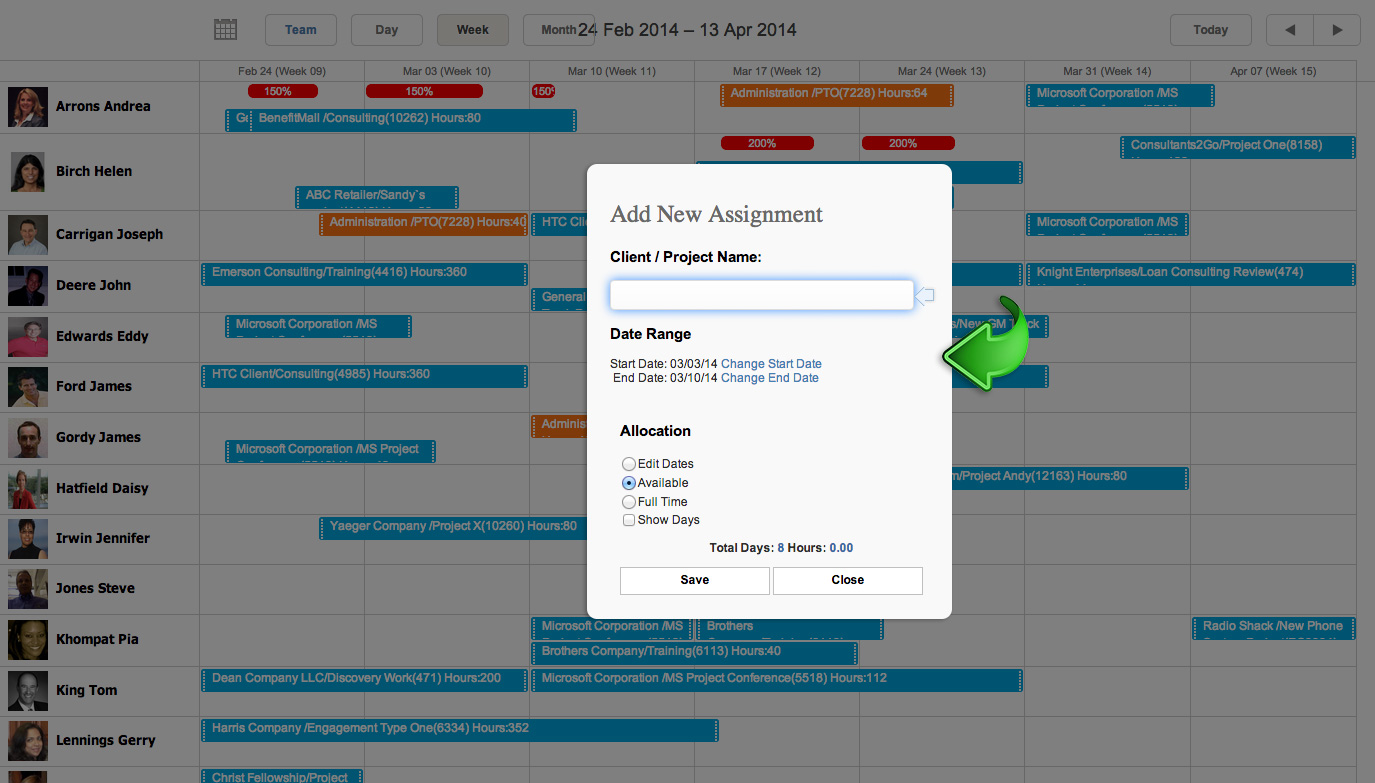
Add Assignment Information
Fill in the assignment information
Client/Project Name: Click on the appropriate Client/Project from the list of options. (If you do not see the correct Client/Project, then it is not yet in the database and will need to be created in Empire PROJECT.)
Date Range: Select start and end dates for the assignment. (The dates can be adjusted later if your information is tentative.)
Allocation: Input the amount of time to be allocated.
- Edit Dates: Input specific hours for each date.
- Available: Input the approximate percentage of time the person should dedicate to the assignment.
- Full Time: Schedule the person for full time.
- Show Dates: Click to reveal a schedule for time allocation.
Save/Close: Click “Save” to save the assignment information, or click “Close” to discard the assignment information and exit the window.
Adjust Projects
There are two ways to easily adjust project schedules and assignments: Field Entry and Drag & Drop.
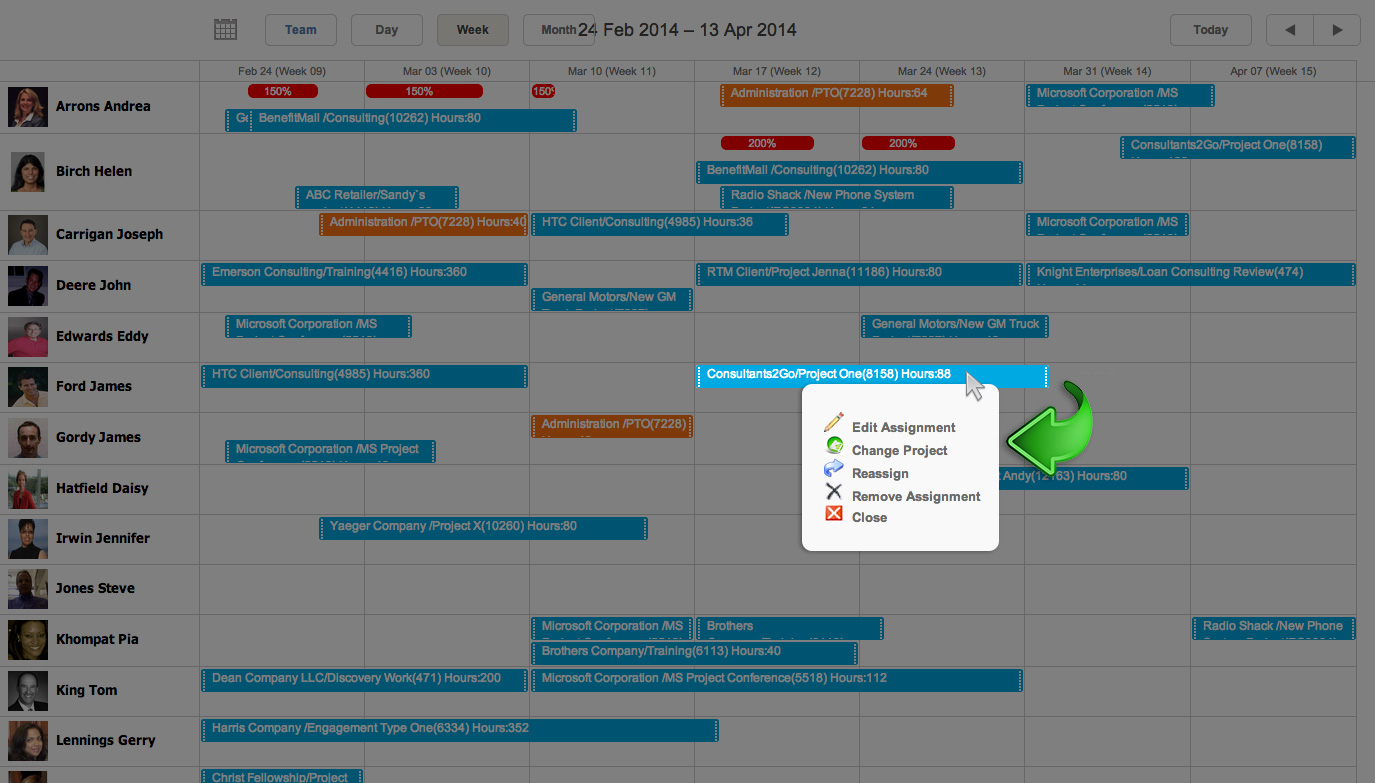
Field Entry
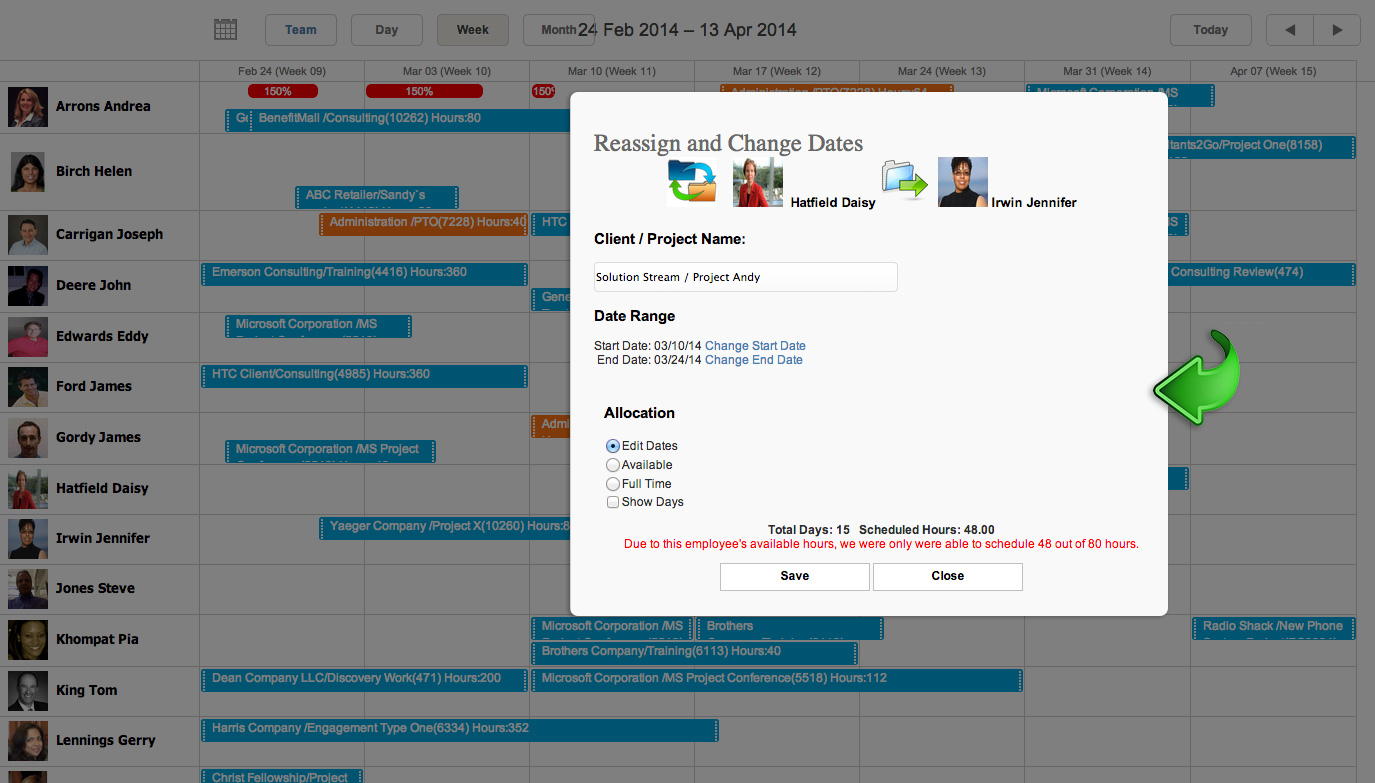
Single click on the the project bar. A list of options will enable you to edit, reassign, remove the assignment, and more.
Drag & Drop
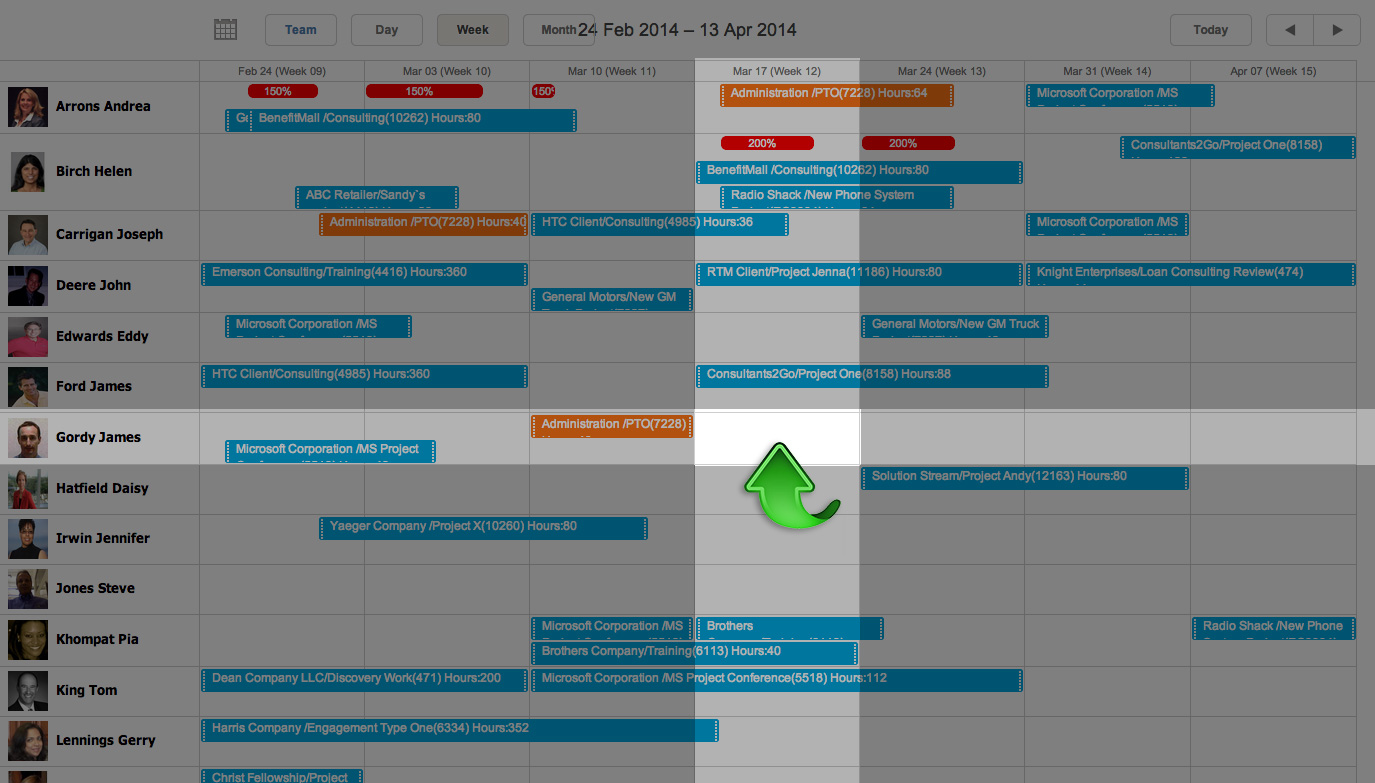
Click the edge of any project bar and drag to lengthen or shorten the timeframe. Click “Save” to confirm the change.
Click and drag the project to another person’s row. A popup window will appear asking you to confirm the change. Any conflicts will appear in red at the bottom of the window. Click “Save” to confirm the change, or click “Close” to undo it.